Subtotal $0.00
Professional Guidance from All Floorings – Brampton, Ontario, Canada
Installing dry back vinyl flooring is one of the most reliable ways to achieve a durable, modern, and moisture-resistant surface in your kitchen. Whether you’re renovating a family home or upgrading an investment property in Kitchener, proper installation is the key to long-lasting performance. At All Floorings, Brampton, Ontario, Canada, we help homeowners choose and install high-quality dry back vinyl flooring that stands up to daily wear while delivering a professional finish.
Below is a complete step-by-step guide covering subfloor preparation, adhesive application, working times, plank placement, and post-installation care—so your flooring performs beautifully for years to come.
Why Choose Dry Back Vinyl Flooring?
Dry back (glue-down) vinyl flooring is ideal for kitchens because it offers:
-
Strong adhesion and stability
-
Excellent moisture resistance
-
Minimal movement after installation
-
Low-profile height for easy transitions
-
Professional, seamless appearance
Unlike click-lock systems, dry back vinyl is fully adhered to the subfloor, reducing shifting and improving long-term durability—especially in high-traffic areas like kitchens.
Step 1: Subfloor Preparation – The Foundation of Success
Proper subfloor preparation determines the overall performance of your flooring. Skipping this step can result in telegraphing (visible imperfections), adhesive failure, and uneven wear.
1. Ensure the Subfloor is Clean and Dry
Remove all dust, debris, grease, wax, paint, and old adhesive residue. Even small particles can prevent full adhesive contact. Use a vacuum and damp mop if needed, but allow the floor to dry completely before proceeding.
2. Check Moisture Levels
Moisture testing is critical—especially in basements or slab-on-grade homes common in Ontario. Excess moisture can weaken adhesive bonds. Use a moisture meter to confirm levels meet manufacturer specifications.
3. Achieve a Flat Surface
The subfloor must be smooth and level. Most manufacturers require no more than 3/16” variation within 10 feet. Use a self-leveling compound to correct low spots and sand down high areas.
4. Repair Imperfections
Fill cracks, patch holes, and secure any loose boards. For plywood subfloors, ensure panels are firmly screwed down to eliminate movement.
5. Acclimate the Planks
Store the vinyl planks in the installation space for at least 24–48 hours. Maintain indoor temperature between 18–27°C (65–80°F). This helps prevent expansion or contraction after installation.
At All Floorings in Brampton, we always emphasize that a properly prepared subfloor ensures a flawless finish and long-term performance.
Step 2: Choosing the Right Adhesive
Selecting the correct adhesive is just as important as choosing the flooring itself.
Follow Manufacturer Recommendations
Always use the adhesive specified by the flooring manufacturer. Using a substitute can void warranties and reduce bond strength.
Consider Environmental Conditions
In kitchens, temperature fluctuations and humidity changes are common. Choose adhesives designed for residential kitchens with moisture resistance and high shear strength.
Trowel Selection Matters
Manufacturers specify the correct trowel notch size (for example, 1/16” x 1/32” x 1/32” U-notch). The correct trowel ensures:
-
Proper adhesive coverage
-
Even ridge formation
-
Full plank contact
-
Durable long-term bond
Step 3: Adhesive Application and Bonding Process
The adhesive process must be controlled and consistent to achieve a professional result.
Apply Adhesive Evenly
Spread adhesive using the manufacturer-specified trowel. Hold the trowel at the recommended angle (usually 45°–60°) and comb consistent ridges across the floor.
Avoid spreading too large an area at once. Work in manageable sections to maintain control over open time.
Control Open Time
Open time refers to the period between spreading adhesive and placing the planks. Adhesive must reach the proper tack level—neither too wet nor too dry.
To test readiness:
-
Touch the adhesive lightly.
-
It should feel tacky but not transfer to your finger.
If you lay planks too early, they may slide. Too late, and bonding strength decreases.
Step 4: Managing Working Times for Optimal Tack
Timing is everything during installation.
Test Small Areas First
Before covering large sections, apply adhesive to a small patch. Check how quickly it reaches the proper tack under your home’s temperature and humidity conditions.
Adjust Your Pace
If the adhesive sets quickly:
-
Spread smaller sections.
-
Increase your working speed.
If it sets slowly:
-
Allow additional open time.
-
Ensure airflow is appropriate.
Maintaining correct working time ensures consistent adhesion and prevents lifting or shifting later.
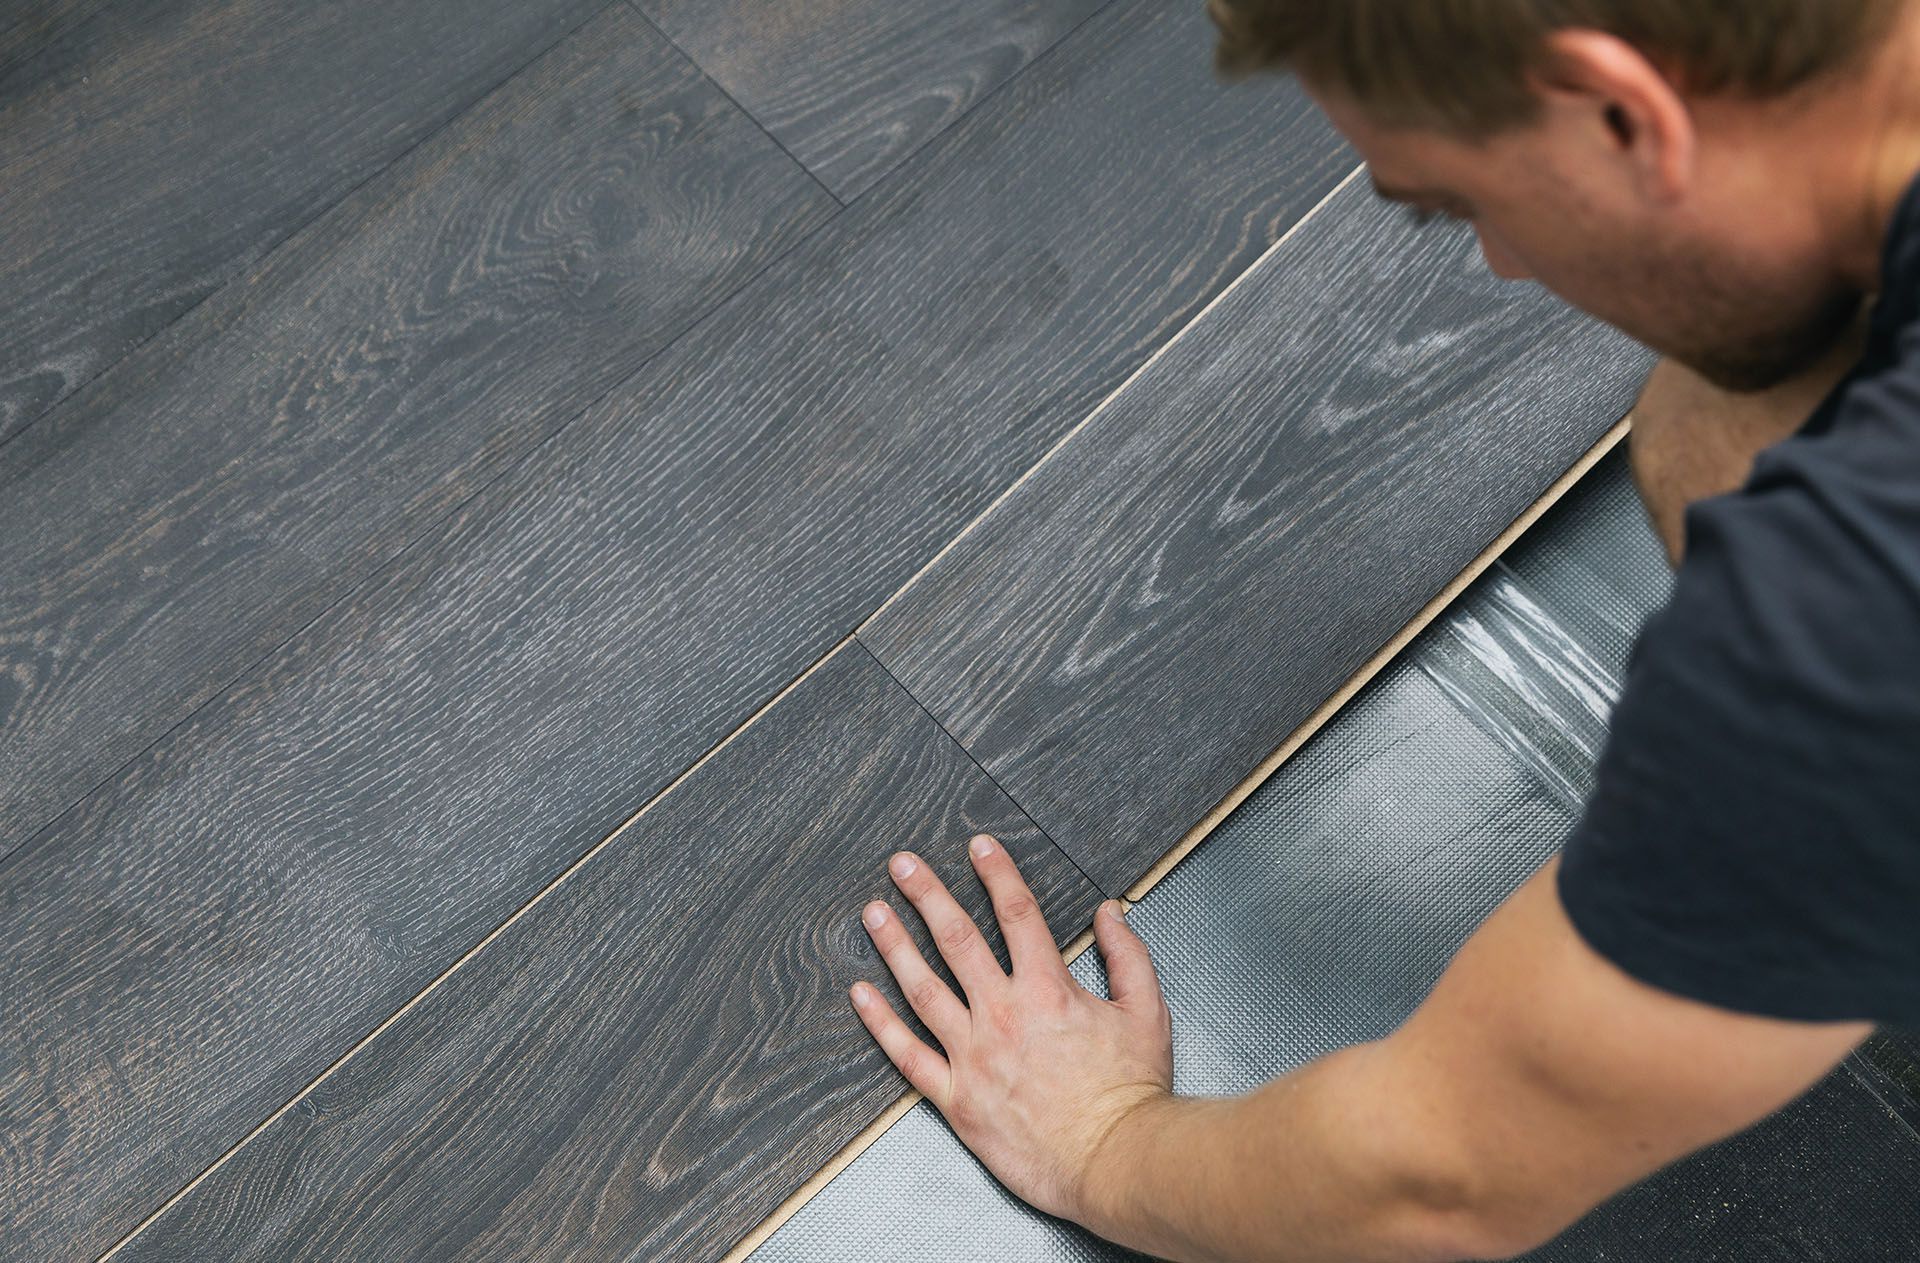
Step 5: Precision Plank Placement and Layout Planning
Professional installation requires careful layout planning.
Establish Starter Lines
Measure the room and mark a straight starter line using a chalk line. This ensures rows remain square throughout the installation.
Use Spacers
Maintain consistent expansion offsets along walls, even though dry back vinyl expands minimally compared to floating floors.
Stagger End Joints
Stagger end joints at least 6 inches apart between rows. This creates:
-
Structural stability
-
Natural visual flow
-
Reduced stress concentration
Avoid “H-patterns” or repeating layouts.
Butt Ends Squarely
Place planks tightly together without forcing them. Ensure joints are clean and flush before rolling.
Tap Seams Lightly
Use a tapping block if needed to align edges carefully without damaging plank edges.
Step 6: Rolling for Full Adhesion
After installing each section, roll the floor using a 75–100 lb flooring roller (as recommended by manufacturers).
Rolling:
-
Ensures full adhesive contact
-
Eliminates trapped air
-
Strengthens bond integrity
-
Prevents seam peaking
Roll in both directions—lengthwise and widthwise—for even pressure distribution.
Step 7: Post-Install Care and Maintenance
Once installed, proper care ensures longevity.
Initial Curing Guidelines
Adhesive requires time to cure fully.
-
Restrict foot traffic for 24–72 hours.
-
Avoid heavy furniture placement for 48–72 hours.
-
Wear soft-soled shoes.
-
Keep pets off the floor during curing.
Disturbing the adhesive during curing can cause plank movement or weakened bonds.
Cleaning After Installation
After cure time:
-
Remove installation debris.
-
Wipe spills immediately.
-
Use pH-neutral cleaners only.
-
Avoid harsh chemicals or abrasive pads.
Proper cleaning preserves the wear layer and finish.
Protective Measures for Long-Term Performance
Kitchens experience heavy traffic and appliance movement. Protect your investment with these strategies:
Use Furniture Protection
-
Install non-staining chair pads.
-
Add felt or polymer glides to furniture legs.
-
Trim glides periodically to maintain smooth movement.
Add Entrance Mats
Place low-profile, non-rubber entrance mats at doors to trap grit and moisture. Ensure mats have breathable backings to prevent discoloration.
Handle Appliances Carefully
When moving heavy appliances:
-
Roll them over plywood sheets.
-
Lift rather than drag.
-
Distribute weight evenly.
Rotate Rugs
In high-traffic zones, rotate area rugs periodically to prevent uneven wear patterns.
Inspect Seams Weekly
Check for lifting or gaps and address issues promptly to avoid larger repairs.
Common Installation Mistakes to Avoid
-
Skipping moisture testing
-
Using incorrect adhesive
-
Spreading too much adhesive at once
-
Ignoring open time requirements
-
Failing to roll the floor properly
-
Allowing early heavy traffic
Avoiding these errors ensures professional results and warranty protection.
Why Professional Installation Matters
While DIY installation is possible, professional installation offers:
-
Precise measurements
-
Proper moisture testing
-
Correct adhesive usage
-
Seamless plank alignment
-
Warranty-compliant procedures
At All Floorings in Brampton, Ontario, Canada, our experienced team ensures every installation meets industry standards and performs reliably in Ontario’s seasonal climate conditions.
Final Thoughts
Installing dry back vinyl flooring in your Kitchener kitchen requires careful preparation, precise adhesive management, and disciplined placement techniques. When you:
-
Prepare a flat, dry subfloor
-
Acclimate planks properly
-
Apply manufacturer-approved adhesive
-
Control open and working times
-
Align and stagger seams accurately
-
Roll thoroughly for full contact
-
Follow post-install curing guidelines
You achieve a long-lasting, professional finish built to withstand everyday kitchen demands.
For expert advice, premium products, and professional installation services, trust All Floorings – Brampton, Ontario, Canada. Our team is committed to delivering durable, beautiful flooring solutions tailored to your home and lifestyle.